Passing our Hydrogen generation test and also having our new Hydrogen detector in place, it’s been time to move forward. First stage was to review leftovers from a previous day together with checking whether there’s been any impact to our Teflon coating.
It worked out that there’s been some more material in there, while coating came out without any scratch or signs of decay.
To test everything works and also to get rid of any excessive air in the container we filled another blimpy first and took some cool pictures of our dramatic sky
Seb’s been having fun with his new friend.
And we started filling the Windreiter envelope.
As you can see from the gallery below, it actually took few hours to get us there. Luckily chemical reaction stabilised nicely so we’ve got pretty stable Hydrogen production.
Finally we’ve ended up with some super-cool blimp!
Last bit was when we measured the lifting power to confirm achieved Hydrogen purity.
As you can see our kitchen scale measures 171g, where advertised value should be 195.60g of lift at Sea Level H2.
That’s roughly missing 25g, which we accounted to the thread attachment metallic clamp, sealing clamp and potential Hydrogen impurities as our experiment has long way to a clean laboratory environment. Whatever it was I think we did pretty well and whole team was very happy about the outcome! 🙂
Next morning after our initial Hydrogen generation test, I’ve realized that couple months back we’ve bought several MQ8 Hydrogen Gas sensors for our Arduino and this would be also an excellent opportunity to check if & how that’s working.
So I asked Seb and Christopher to put it together and about an hour later – voila – they had it working!
Arduino code looks pretty straightforward.
long sensorValue;
void setup() {
  Serial.begin(115200);
}
void loop() {
  sensorValue = 0;
  for (int i = 0; i < 100; i++) {
    sensorValue += analogRead(A0);
  }
  sensorValue = map(sensorValue/100, 0, 1023, 100, 10000);
  Serial.println("ppm: " + String(sensorValue));
  if (sensorValue > 300)
    tone(3, sensorValue/5);
  else
    noTone(3);
  delay(100);
}
As you may see on video below, they also added a “buzzer” to signal number of particles detected and connected it to a plotter to show values on a graph. They are using hydrogen from a previous day to test that it is really working.
Having that buzzer there came later pretty handy as it served us well to detect all the leaks whilst generating hydrogen, but that’ll have to wait for another post. 🙂
In follow up on our latest adventure in Envelope from Windreiter we’ve ended up some amazing progress this weekend. Our plan was to get heaps of it from Aluminium and Sodium Hydroxide Reaction | Al + NaOH.
Christopher dug out for us how it should work – one sodium atom, one oxygen atom, and one hydrogen atom make up this compound. When all of the molar masses of the constituents of sodium hydroxide are added together, the result is sodium hydroxide’s (NaOH) molar mass. Thus, 22.989g/mol+15.999g/mol+1.008g/mol=39.996g/mol.
So approx 40g of caustic soda = 1g hydrogen.
Molar volume, or volume of one mole of gas , depends on pressure and temperature, and is 22.4 litres – at 0 °C (273.15 K) and 1 atm (101325 Pa), or STP (Standard Temperature and Pressure), for every gas which behaves similarly to an ideal gas. The ideal gas molar volume increases to 24.0 litres as the temperature increases to 20 °C (at 1 atm).
For an ideal gas, the attractive or repulsive interactions between the molecules of gas can be neglected, therefore we can treat this gas as “ideal”. (Side Note: interaction forces between specific gases create conditions for non-ideal gas situations)
The actual molar volume of hydrogen can be exactly calculated from the experimental density of that gas, that is 0,0899 g/L at 0 °C (1 atm ) and 0.0837 g/L at 20 °C (1 atm), knowing that one mole of dihydrogen (H2) amounts to 2,0159 g/mol. Thus, if 0,08988 grams amount to 1 litre, a mole will be as big as 2,0159/0,0899 = 22,42 litres at STP (0 °C – 1 atm) and 2,0159/0,0837 = 24,1 litres.
These values of true molar volume of hydrogen are very close to the ideal gas values of 22,41 L/mol and 24,0 L/mol at 0 °C and 20 °C, respectively, thus confirming that hydrogen gas behaves almost ideally.
As always it needed some shopping to be done first to get our Hydrogen production back on rails. We started with getting 0.5 kg of Aluminium powder from Barnes.
It looks so tiny when having it in hand.
Getting Caustic Soda from Santo was much more entertaining as they keep selling it in 25kg bags only.
Of course, handling such material might be mildly problematic, we’ve got proper protection ready.
Next phase started by putting together the “reaction chamber” by scavenging on our previous hydrogen generator. Mainly our original investment into the Teflon coating paid off thousand times as the main basin needed to be corrosion resistant to withstand that caustic soda solution, while also having high thermal conductivity to disperse heat from planned (exothermic) reaction.
As a lid we’ve used an old perspex sheet and drilled couple holes to get solution feed in and hydrogen outlet. Whole contraption got placed in an esky filled with water to cool things down and also to capture any potential leaks.
Moments later we’ve started generating our first Hydrogen!
And few moments later, with assistance from Ondra, we had our blimpy back again.
At that stage we had to stop our test as it was getting late and we had some other activities.
While working in parallel on multiple projects here, an important one seemed to became quite laid back lately – our airship’s envelope. However that’s not that true. I’ve been checking all the corners to get an material which should do the job – 100 micron PU sheets – but with no luck so far.
At some stage I’ve got in touch with Mr. Martin Hill, who suggested to contact a German company called Windreiter and check what they are doing. Then it was easy and I’ve got in touch with Dr. Andreas Burkart – Windreiter co-founder and we briefly discussed our project.
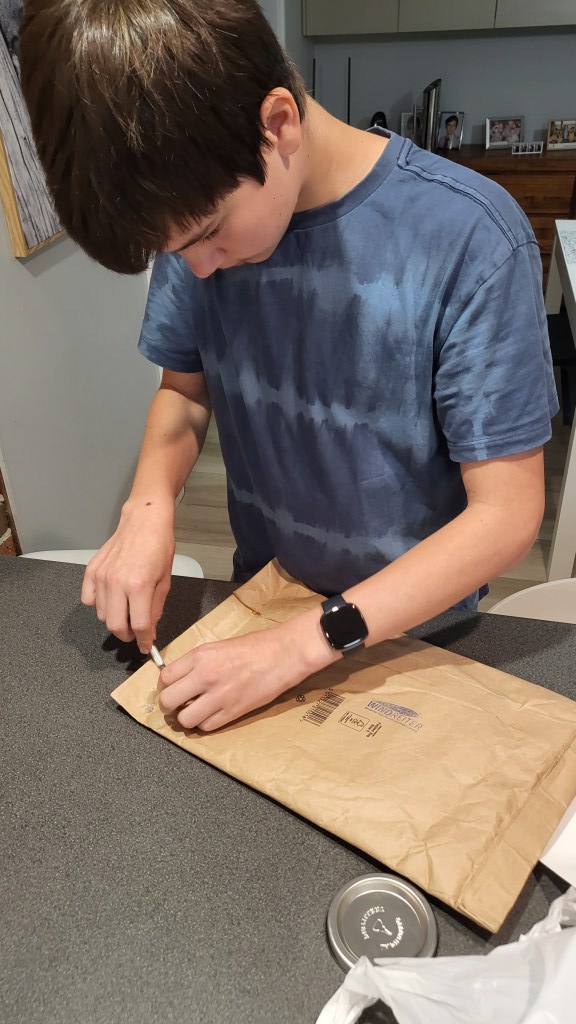
To my minor setback Dr. Burkart suggested not to start building anything too complex before taking baby steps and pointer to their e-shop with few of-the-shelve envelopes there. Being busy with work I couldn’t make myself to decide where next with this topic till the “Father’s Day” event came with Sebi asking what do I want. While my first idea went to the SignMyRocket, then I reverted to a more plausible solution and asked him to pick one of the Windreiter envelopes for us instead.
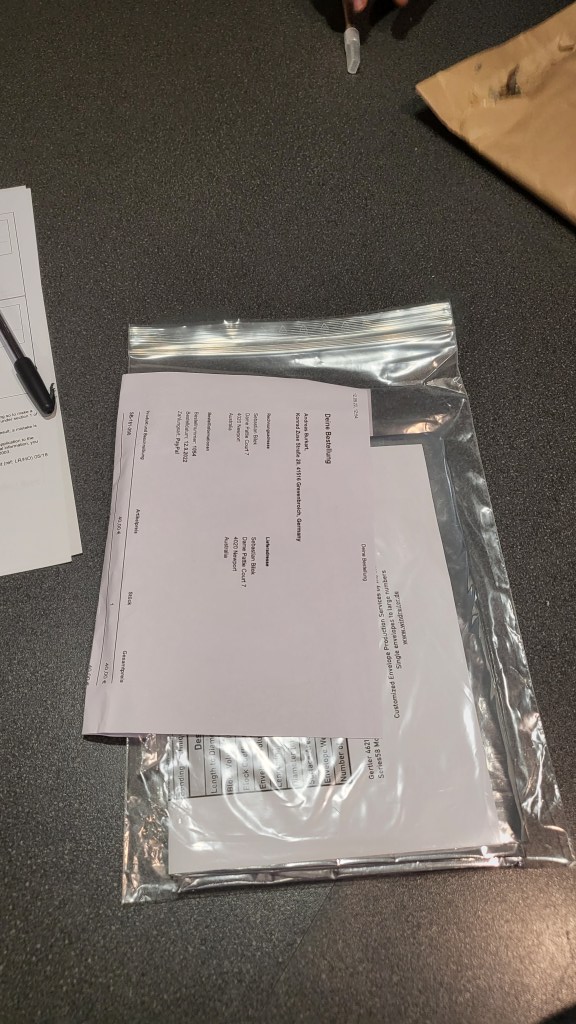
It came from Europe in about two weeks in a well padded envelope.
Data sheet confirmed that we are getting what we’ve ordered! Based on that we should be getting ~195g of lifting power (1.91 newtons earth) with it when using Hydrogen at sea level.
Seb got instructions to use our air pump to inflate it and test if it holds pressure well.
As you can see above, it worked out very well! I can’t wait till we attempt to fill it in with Hydrogen with our aluminium foil and caustic soda experiment! 🙂